Introducing Table Hockey on Real Ice
 L. S. Wynn
 At wiseGEEK, we focus on answering common questions, but sometimes we come up with an idea, and we can't resist breaking our standard question/answer format. This is one such case.
We love air hockey, but we wanted to see if the basic idea would work on real ice as opposed to using the air bearing principle.
We were on a visit up north and an approaching cold weather front provided the perfect opportunity. Unfortunately, we were away from our workshop, so we had to design and build our prototype without all the tools that we are accustomed to. In the end, however, we achieved a surprisingly great result:
Introducing: Table Ice Hockey
We started with a full sheet (4' x 8' or 122 x 244cm) of thick MDF as the base. We placed the base on a sturdy table. To ensure that the color of the ice resembled that full size hockey rinks, we lined the bottom with some white dropcloth. We would have painted the MDF, but it was too cold outside to get paint to dry properly.
Water expands as it freezes, and our research showed that it could expand a remarkable 9% in volume! This means that it could expand 2.08% in any given direction. 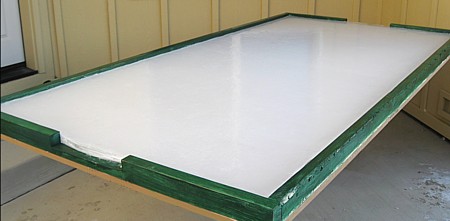 We weren't sure if it would expand with force given that the top of the rink would be open. Since this was our first prototype, we wanted to play it safe.
 To accomplish this, we arranged 2" x 3" (actual dimensions: 1 7/16" x 2 7/16" or 37mm x 62mm) wooden boards around the periphery of the base without fastening them to anything. If the water pushed the boards as it froze, the ice would be able to maintain its integrity and nothing would break.
Next, we positioned a single 4 mil (.1mm) plastic sheet to contain all the water. Some bricks on the top held the plastic in place and prevented the water from pushing the boards off the base.
After a night of frigid temperatures, we had a solid block of ice, and with no perceptable expansion. It appears that the majority or all of the expansion was directed upward and not outward into the sidewalls of our basin. Now that we had a frozen block of ice, we removed the sidewalls and took them inside to paint.
Next, we made some simple cutouts for the goals and then mounted the walls to the base with a series of screws. 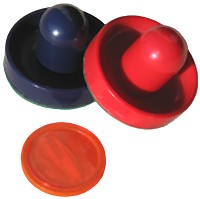 Then we filled in the gaps between the ice and the mounted walls with some more water - the expansion of freezing of this small channel of water was not a threat.
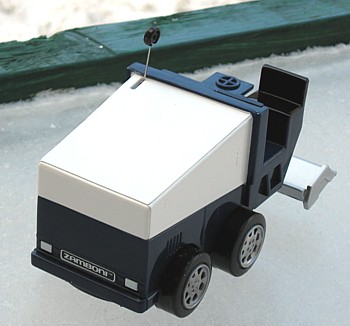
The following morning, we had a beautiful block of ice. We cut the excess plastic, and prepared the surface. A large ice scraper proved to be the perfect tool to even out small anomalies in the ice surface. Toweling down the surface created perfect playing conditions.
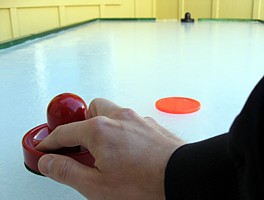
We used some air hockey mallets and a puck that we found at a local sporting goods store. The quality of these items left a little to be desired, but despite their deficiencies, the game play was excellent. The puck travelled very fast and rebounded well off the walls.
Notes:
- The materials list for this project is surprisingly simple and inexpensive. You need a base (plywood, particle board, or MDF is fine), sides, a durable plastic sheet and the mallets/puck. If you already have the basic tools, this project could easily be made for $40 to $50.
- Based on the imperceptible horizontal expansion of the ice, we probably could have mounted the sides right at the beginning, instead of creating the ice with a two-step process.
- We placed the table hockey game on a sturdy table and this worked well.
- Freezing the ice in multiple layers would have probably been easier and faster. Allowing the final layer to freeze in low or no-wind conditions would have likely minimized the amount of surface corrections we had to make.
- For this prototype, we only had access to a relatively light puck; a larger and heavier puck would have probably allowed for even faster play.
- On one warm day, the temperature crept above the freezing point. During this time, we covered the ice surface with some styrofoam and wrapped everything in a sheet of plastic. This technique performed well at insulating the ice against melting.
- The temperature stayed below freezing for more than a week, but putting one of these in a walk-in freezer would offer year-round fun!